

How To Choose The Right Dry Bags 2026
Choose dry bags based on your primary loadout rather than just volume. For critical electronics and down insulation, use a 5-10L internal liner bag; for bulky items like sleeping bags or clothes that can tolerate dampness, rely on the pack's built-in rain cover or an external 20L+ sack. Always prioritize seam-sealed construction over roll-tops for long-term durability, and verify the material denier (D) matches your terrain—high-denier for brush, low-denier for weight savings.
Our Top Picks
Affiliate disclosure: if you buy through these links, we may earn a commission at no extra cost to you.
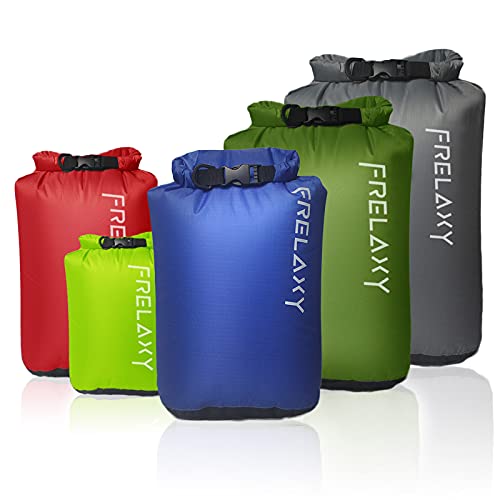
Table of Contents

Quick Answer
The Philosophy: Internal vs. External Protection
On the trail, I don't trust a single layer of defense against moisture. The most effective strategy is a dual-layer system. Your primary barrier should be an internal dry bag or pack liner that holds your entire kit—sleeping bag, clothes, and electronics—inside the main compartment of your backpack. This protects everything from rain, river crossings, and condensation inside the pack.
The second layer is external protection for items you access frequently or items that don't need to stay bone-dry. A 20L+ dry bag used as a stuff sack for your sleeping bag allows you to remove it quickly if the pack gets soaked, without exposing your electronics. I’ve seen hikers fail because they relied solely on a rain jacket over their pack; when the wind drives rain sideways or the pack is submerged in a creek, water finds its way in.
Material Matters: Denier and Durability
Denier (D) refers to the thickness of the fibers used in the fabric. In dry bags, you will typically see 70D, 100D, or 210D nylon/polyester. For most thru-hikers, 70D to 100D is the sweet spot for weight-to-durability ratio. It offers enough resistance against abrasion from rocks and brush without adding unnecessary bulk.
Ultra-lightweight bags often use 20D or 30D material. While these save grams, they are fragile. If you are bushwhacking through dense pine forests or scrambling over talus fields, a 20D bag will puncture in minutes. Conversely, heavy-duty 500D military-grade bags are nearly indestructible but add significant weight to your pack. I recommend sticking to 70D-100D for general trekking and reserving heavier bags only for base camp gear or vehicle camping.
Seam Construction: Welded vs. Taped
The weak point of any dry bag is the seam. Cheap bags use stitched seams that require tape or glue to be waterproof. Over time, this adhesive breaks down, leading to leaks at the corners and along the edges. High-quality dry bags use heat-welded (ultrasonic) seams where the material itself is fused together, eliminating the need for tape.
When inspecting a bag, look for "welded" or "fused" construction in the product description. If you must buy a taped-seam bag, ensure it has double-taped seams. Inspect the corners; these are high-stress areas that often fail first. Reinforced corners with extra layers of material or rubberized patches significantly extend the lifespan of your gear.
Volume Sizing for Thru-Hiking Loads
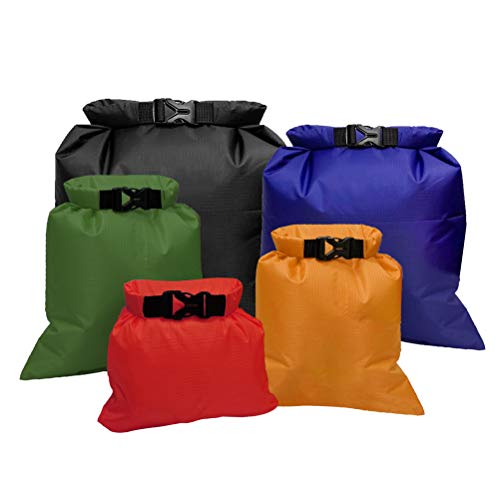
Buying a dry bag is not just about picking a number higher than your pack size. You need to match the bag to your specific loadout categories. I generally carry three sizes:
- 1L - 5L: For critical electronics (phone, GPS, camera) and small valuables. These are often used as internal liners.
- 10L - 20L: The workhorse size. Perfect for your sleeping bag and clothing system. This volume allows you to compress your down insulation effectively.
- 30L+: Used for base camp items, wet clothes, or as a primary pack liner for large packs (60L+).
If you are carrying a 40L pack, a single 20L bag may not hold everything. In that case, use two smaller bags (e.g., one 10L for clothes, one 10L for sleeping gear) to distribute weight and allow independent access.
The Roll-Top Mechanism Explained
The roll-top closure is the defining feature of a dry bag. It works by folding the top of the bag over multiple times to create a watertight seal. The effectiveness of this seal depends on the width of the top and the stiffness of the material.
A wider opening (at least 4-5 inches) makes rolling easier and ensures a tighter seal when compressed. Cheap bags often have narrow tops that are difficult to roll tightly, leading to leaks under pressure. Additionally, check for a "gusseted" bottom. A flat-bottomed bag collapses when empty, making it hard to pack. A gusseted bag stands upright and maintains its shape, making it easier to organize your gear inside the pack.
For long-distance hiking, I prefer bags with a clear or translucent window on the side. This allows you to identify contents without opening the seal, saving time at camp when setting up shelter in the rain.
Frequently Asked Questions
Do I need a separate dry bag if my backpack has a rain cover?
No, but you should use one anyway. Rain covers shed heavy rain well but fail during river crossings or when the pack is laid flat in wet grass. An internal dry bag protects your gear from condensation and immersion.
What is the lightest dry bag option for ultralight hiking?
Polyethylene trash compactor bags (like Eagle Creek Pack-It) are the lightest option, weighing under 1 ounce. They are less durable than nylon but sufficient for most hikers who avoid sharp brush.
How do I fix a leaking dry bag?
For small holes, use a repair tape designed for PVC or nylon (like Tenacious Tape). For seam leaks, apply waterproof seam sealer. If the roll-top is failing, ensure you are rolling it at least 4-5 times.
Can I use dry bags for organization inside my pack?
Absolutely. Use different colored bags to separate dirty laundry, wet clothes, and clean gear. This keeps your pack organized and prevents moisture transfer between items.
Are vacuum-sealed dry bags worth it?
Only for base camp. They compress gear significantly but require a pump or compressor, which adds weight and complexity. For trail use, simple roll-tops are more reliable and faster to use.
Choosing the right dry bag comes down to balancing weight, durability, and your specific packing strategy. By understanding materials, seam construction, and volume needs, you can ensure your gear stays dry without carrying unnecessary weight. Start by assessing your heaviest wet items and work backward from there.


