

Winter Backpacking Hydration Checklist
Winter hydration fails differently than three-season hydration: bottles can freeze, hoses can clog, filters can be damaged by freezing, and melting snow safely takes fuel and time. This evergreen roundup now pairs the checklist categories with the five owner-approved product candidates from the local product review gate.
The product cards below are local review candidates only. Affiliate links and tracking tags are not approved in this version, so the article keeps the buying guidance practical without treating any link as a live monetized recommendation.
Table of Contents
Our Top Picks
Affiliate disclosure: if you buy through these links, we may earn a commission at no extra cost to you.


Quick Checklist
Winter Hydration Product Slots
1. Insulated Bottle System: Hydro Flask 32 oz Wide Mouth Bottle
An insulated wide-mouth bottle is the simplest way to keep a drink accessible when hose systems are likely to freeze. Use this slot for trips where weight matters less than reliability, easy filling, and keeping water or warm drinks usable during cold stops.
2. Wide-Mouth Hard Bottle Kit: Nalgene 32 oz Wide Mouth Bottle With Insulated Sleeve
A wide-mouth hard bottle is easy to fill with melted snow, easy to inspect with gloves on, and simple to carry upside down in freezing weather. The insulated sleeve adds a little protection without changing the basic reliability of the bottle-first setup.
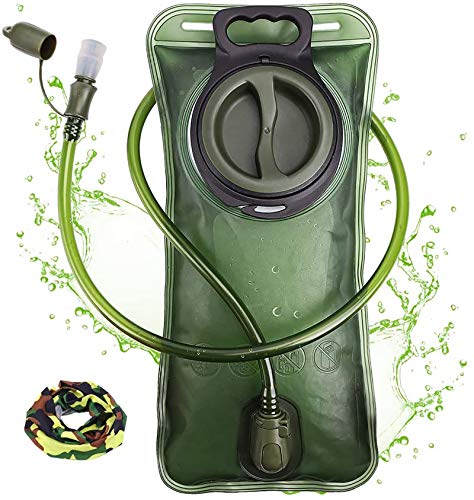
3. Reservoir And Hose System: HydraPak HydraSleeve Reservoir With ArcticFusion Tube
A reservoir can work for winter travel when the hose and bite valve are managed carefully. This slot is for hikers who want on-the-move drinking but are willing to use insulation, blow-back habits, and regular freeze checks instead of assuming a hose will stay clear by itself.
4. Stove And Snow-Melt System: MSR WindBurner Group Stove System
When snow is the main water source, hydration becomes a stove and fuel-planning problem. A wind-resistant integrated stove system helps keep snow-melt planning realistic, but the article should always keep ventilation, carbon monoxide, stable stove placement, and fuel margin front and center.
5. Filter Plus Chemical Backup: Katadyn Micropur MP1 Tablets With Sawyer Freeze Handling Caveat
Hollow-fiber filters can be damaged by freezing, so winter kits need a backup plan. Chemical treatment tablets can cover the backup role, but cold water may require more patience and careful label-following than warm-weather treatment.
How To Use This Checklist
Use the categories above to audit your winter kit before the trip. The safest setup is usually redundant: a bottle-first carry plan, a realistic snow-melt plan, and a backup treatment method for water sources that cannot be boiled immediately.
Bottom Line
The strongest winter hydration setup is the one you can still use when your hands are cold, bottles are icing up, and melting snow is taking longer than expected. Start with simple accessible water storage, add hose systems only when you can manage freeze risk, and always carry a treatment backup that matches the conditions.


